Objective
Learn how to compile a program using Code::Blocks and Eclipse. This is the only occasion that I will show you instructions for Eclipse, in further occasions I will only use Code::Blocks.
Step 1. Open your IDE
By the way IDE means “Integrated Development Environment”. First step is to open Code::Blocks or Eclipse, make sure you have the correct version installed on your computer, follow these instructions to install the correct software.
Step 2. New project
The steps change a little bit depending on your IDE. I will show you how to make a new project in Code::Blocks and Eclipse.
a) Code::Blocks
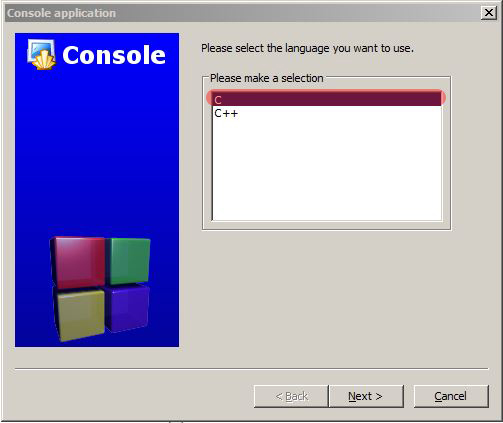
In the file menu select “new >> project”, it will pop up this window. Select “Console application” (1), then select “Go” (2)

A welcome window will appear, you can select the “never show this again” option and click “Next”.
Select “C” and “Next”.
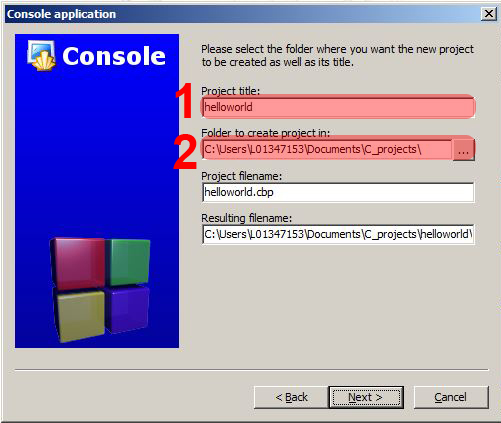
Now in “Project title:” (1) write “helloworld” and be sure you save the project files to a know directory (2).
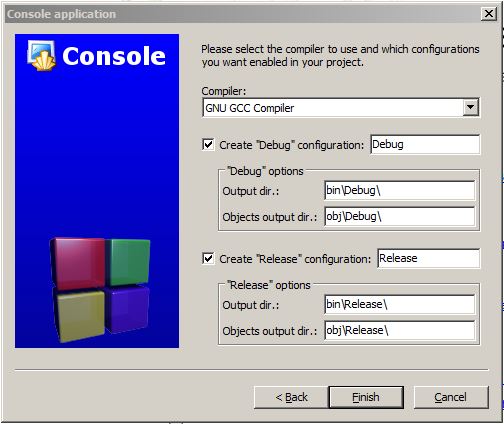
Just make sure your compiler is installed on your computer, it should look something like this, do not move thing if you do not understand what are you doing. If it doesn’t give you a this information you may have downloaded a different version, please read the software section for more details. Click “Finish”.
Now on the left side on “Management” window is a folder called “helloworld” and it contains a folder “Sources” which has inside a file named “main.c”, this file has your code, in this case we started with an example file, open it to see whats inside.
b) Eclipse
If you are going to use Eclipse for developing follow these instructions. First open “Eclipse”.
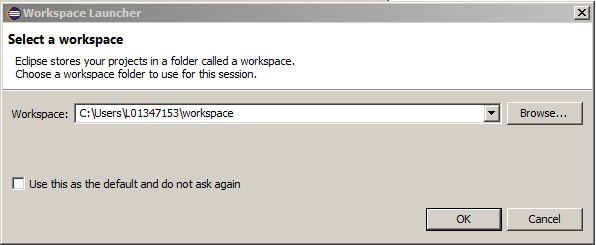
It will ask you for a “Workspace” directory, select a directory where you want to save all your projects, you can leave the default option (recommended) and clic “OK”.
In the main window go to menu “File >> New >> Project” and a window will appear, select “C Project” under “C/C++” and clic “Next”.

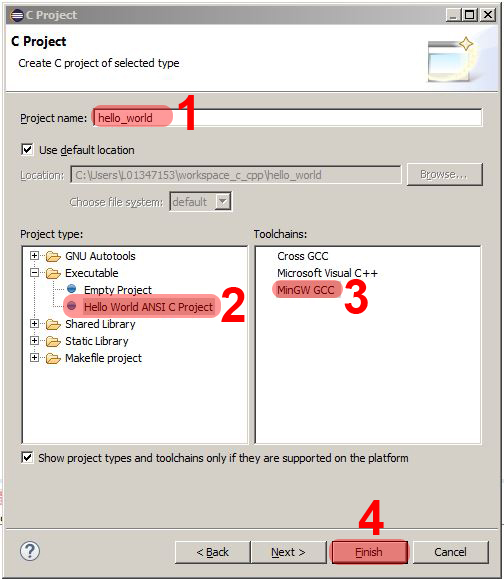
Then (1) write a name for your program, in my case is “hello_world”, (2) Select “Hello World ANSI C Project” example, (3) select the tool chain though you are going to compile your programs (select MinGW GCC if you installed “mingw-get-setup.exe” pacages), (4) clic “Finish”
Now on the left side you have your “Project Explorer” window were are located all your active projects. In this case a “hello_world” folder will appear and inside it has a “scr” (source) folder with contains a file named “main.c”, this is the file that has all you code, in this case we started with an example file, open it to see whats inside.
Step 3. Understanding the code
Code in Code::Blocks
#include <stdio.h>
#include <stdlib.h>

int main()
    {
    printf("Hello world!n");
    return 0;
}
Code in Eclipse
Now in Eclipse IDE:
/* ===================================================
Name : hello_world.c
Author :
Version :
Copyright : Your copyright notice
Description : Hello World in C, Ansi-style
=================================================== */
#include <stdio.h>
#include <stdlib.h>

int main(void)
    {
    puts("!!!Hello World!!!"); /* prints !!!Hello World!!! */
    return EXIT_SUCCESS;
}
About the code
The first difference between the two code examples are from line 1 to 9 in eclipse:
/*
=============================================================
Name : hello_world.c
Author :
Version :
Copyright : Your copyright notice
Description : Hello World in C, Ansi-style
=============================================================
*/
These are a multiline comment. This is often used to describe what does a program is intended to do, some revisions, and credits. Comment is started in line 1 and finished in line 9.
Now lets see what’s the code about. First we have:
int main(){

}
This is the main program, here it goes our code, we have to tell what does we want to execute. Inside our main program comes in Code::Blocks:
printf("Hello world!n");
return 0;
And in Eclipse the code looks like:
puts("!!!Hello World!!!);
return EXIT_SUCCESS;
The two codes will display a message in console, but the difference is through which function is done. Code::Blocks is using a complete instruction to send data to the terminal and Eclipse is using a simplified version of it. “printf” is capable to send data and formatted numbers and puts can only send text. Second the Return line in Eclipse says “EXIT_SUCCESS”, this is just a label that knows Eclipse that equals to zero, in other words what does this means is the same as “0”.In this case a “return 0;” (or return EXIT_SUCCESS;) will give a 0 to the operative system indicating that the program ended successfully.
Step 4. Compiling and executing the code
Well there are some differences in the way it’s donne by each compiler.
Code::Blocks
There are three icons, first one a gear, second a green triangle, and third a gear and triangle.

The gear is used to “Build” your code, and basically this means that the compiler is going to take your “C” code and convert it into a executable file. The triangle is used to run the last build made, if you haven’t made a build is not going to run anything, or you make a change to your code and you do not “build it” again it will not run your program with the last changes. And the gear with the triangle builds and runs your program (it does both things for you, so if you’re felling lazy just clic this button).
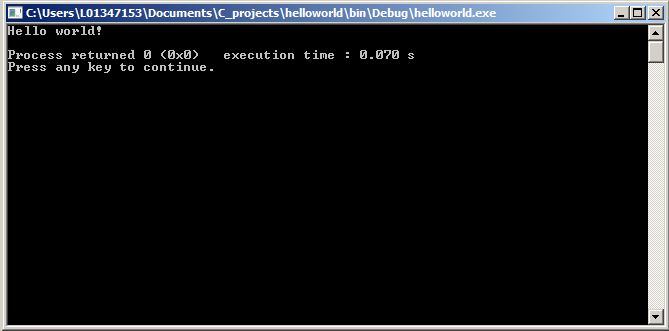
After you run your program a command window will appear with the “Hello world!” message and some other information like the time that i took to execute your program.
Your done.
Eclipse
If your are using Eclipse theres a “hammer” and a “green triangle”. The hammer is used to compile your program and the green triangle to run it, compile first.
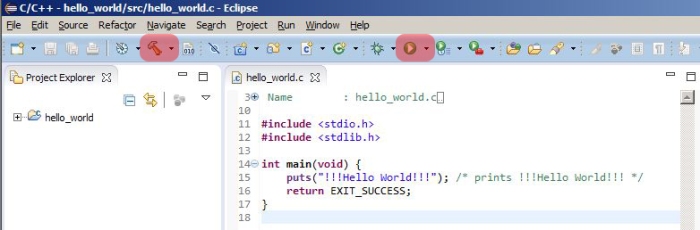
Again, the triangule is used to run the last build made, if you haven’t made a build is not going to run anything, or you make a change to your code and you do not “build it” again it will not run your program with the last changes.
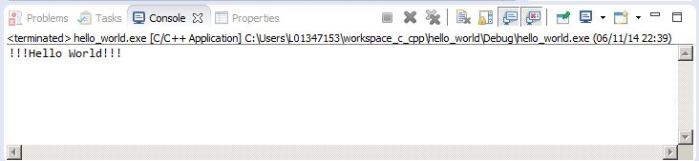
When you run your program in the button part of Eclipse its located a the Console window in wich will appear in this case “!!!Hello World!!!”.
You are done.
